Processing Returns and Exchanges
Initiating a Return
Once a has been finalized and shipped out, EPiServer Commerce enables you to process returns and exchanges directly in the order.
Returns and exchanges can only be processed once a is tagged as "Completed."
- Go to purchase order that has been finalized and shipped. Go to the Details tab and you will see that the Create Return is available under Returns/Exchanges. Click on it to begin the and/or process.

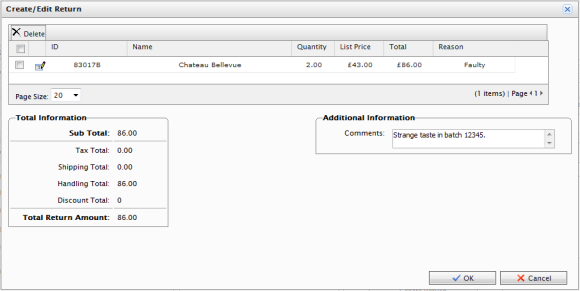
- The Create/Edit Return form appears. Click on New Item to add associate the items to be returned.
- The Line Item drop-down menu defaults to the items that were in the original purchase order. You can set the Return Quantity and the Return Reason from the drop-down list (Faulty, Unwanted Gift, Incorrect Item). You can also add additional information to the return. Click OK to save your changes.
- The purchase order will go into Edit Mode. Click Save to continue the return process. Otherwise, click Cancel to cancel the return.
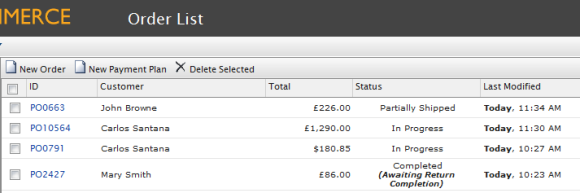
- In the Order LIst, the order will now appear with status Completed/Awaiting Return Completion.
Return Completing Actions
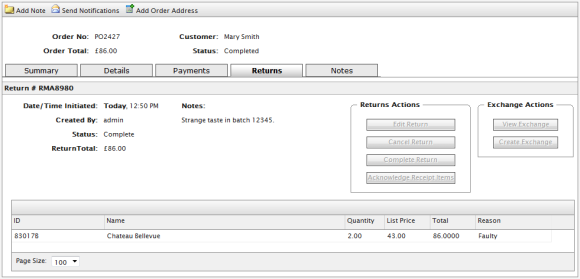
- Click on the Returns tab to process the return further. Once you get a notice from the shipping department, for example, that they have received the returned item, click on Acknowledge Receipt Items.
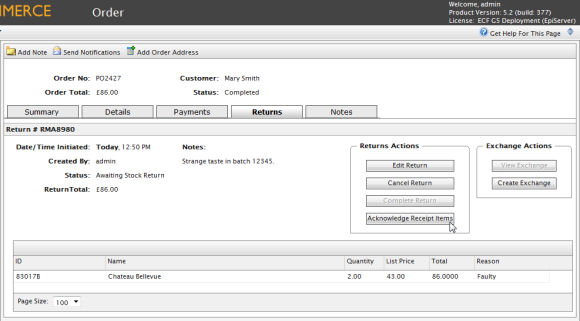
You can also choose to edit the return or cancel the return completely.
- Once you click on Acknowledge Receipt Items, the Complete Return becomes available.
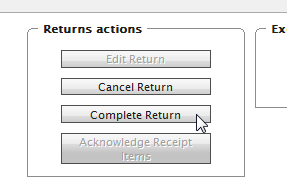
- Click on Complete Return to open the Create Refund form.
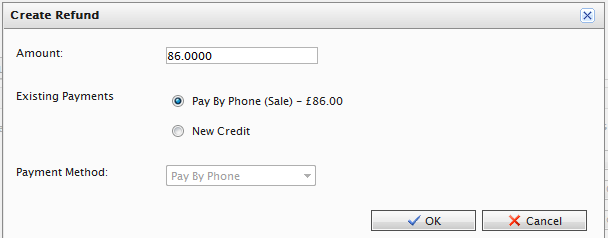
- The Amount value defaults to the invoice cost of the item (not including the shipping costs). For example, if the item cost $49.99 and the shipping cost was $2, then the Amount text box will show $49.99.
However, you can specify a different amount to to the customer, including the full cost of the order, item(s) + shipping cost. By default, the refund will be deposited based on the method the customer used to make the order. - If the customer wants the refund processed and deposited to a different credit card or payment method (such as cash, money order, or electronic transfer), click on the New Credit radio button and you can enter their alternate credit card information or other refund payment information.
- Once done, click OK to create and process the refund. The status of the purchase order changes to Completed.
Initiating an Exchange Order
Generating an exchange creates a separate Exchange Order (denoted by "EO", instead of "PO") tied to the original Purchase Order. An Exchange Order is similar to processing a Purchase Order, as it involves payment processing and releasing packages for .
- Go to a Purchase Order, click on the Details tab, and then click on Create Return.
- Add the items for exchange.
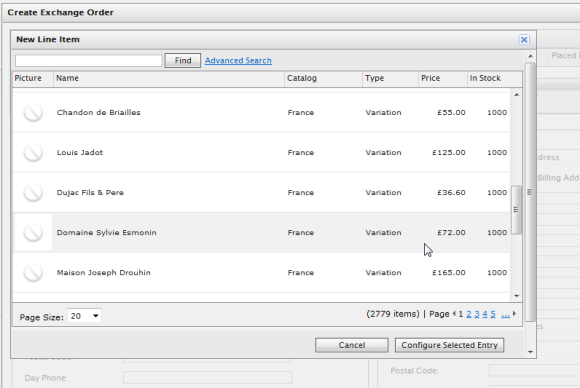
- Click on the Returns tab and click on Acknowledge Receipt Items. Click Create Exchange to open the Create Exchange Order form.
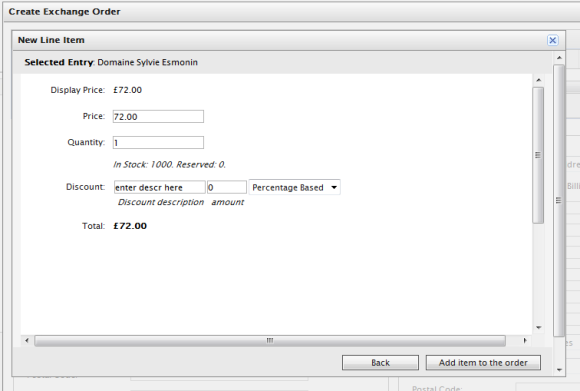
- Click on New Item and then select the item to be exchanged by clicking Configure Selected Entry. You can adjust the price, quantity, and applicable discounts before you add the item to the Exchange Order by clicking Add items to the order.
- Enter a shipping and billing address. Select the to use for the Exchange Order. Click on Recalculate to adjust the Summary total.
- Click OK once done.
Viewing an Exchange
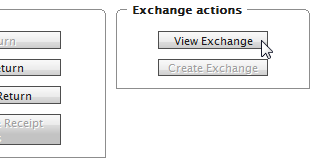
- Once an Exchange Order (EO) has been created, click on View Exchange to view the details of the EO. An EO is similar to how a Purchase Order is set up.
- Click on the Payments tab to add a payment to the Exchange Order. Select a payment method for processing the EO. You can adjust the amount if needed (the amount default value is based the item cost + shipping).
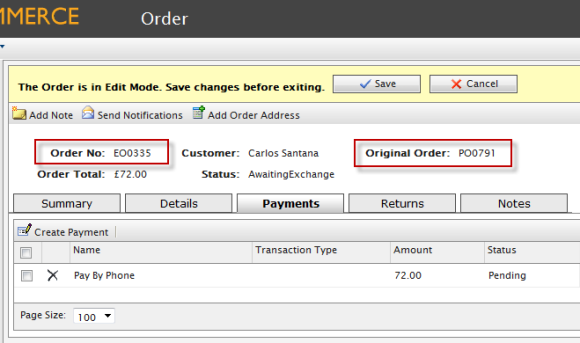
- The Exchange Order goes into Edit Mode. Click on Save to process the payment and the order. The payment Transaction Type changes to "Authorization."
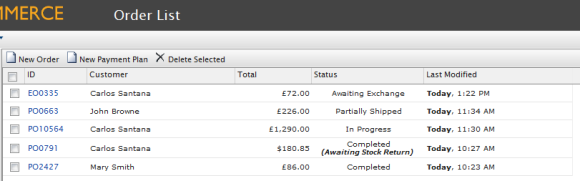
- In the Order LIst, the there will be an exchange order with prefix EO instead of PO, and with status Awaiting Exchange.
- Go back to the original Purchase Order and click on the Returns tab. Click on Complete Return to enable the Customer Service Representative (CSR) to release the EO shipment. Optionally, you can cancel the shipment to cancel the Exchange Order. Once you release shipment, the CSR repeats the same process as he would when shipping a Purchase Order.
Version: EPiServer Commerce 1 R2 SP2| Last updated: 2012-09-20 | Copyright © EPiServer AB | Send feedback to us