Processing Shipments and Creating Picklists
Once an order has been released for , the order then goes through shipment processing, where you can add the shipment to a Picklist and select the warehouse where the item will be packed and shipped from.
- Go to Order Management > Shipping/Receiving > Shipments > Released for Shipping. This shows the Released Shipments screen.
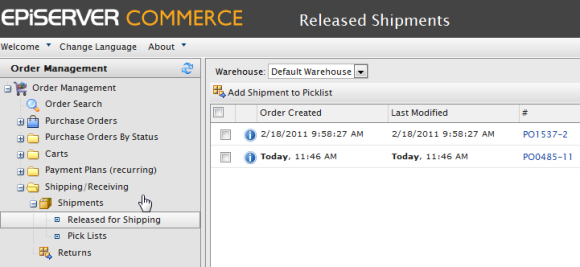
- Select a Warehouse from the drop-down list to determine where the item ship be packed and shipped from.
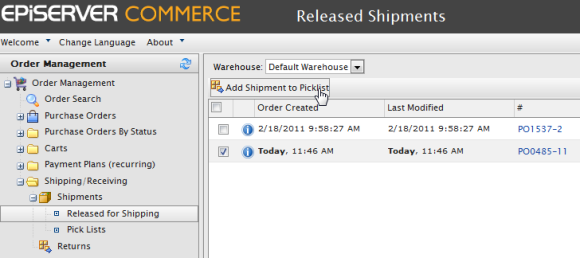
- Checkmark which orders you want to add to the Picklist and click Add Shipment to Picklist.
- The Add Shipments to Pick List pop-up appears. You can choose to create a New Pick List (by default, the List Name shows the date and time the Pick List was generated) or add the chosen shipment(s) to an existing Pick List you can select from the List Name drop-down list. Click OK to save your changes.
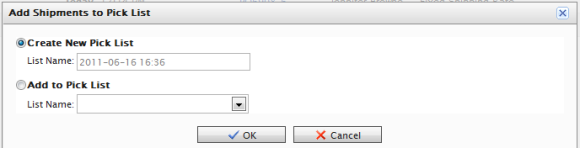
Note that it is currently not possible to change the pick list name. It defaults to date and time.
Printing Picklists and Printing Packing Slips
- Go to Order Management > Pick Lists. You can see existing Pick lists; you can filter the view by choosing which warehouse the pick list was generated in.
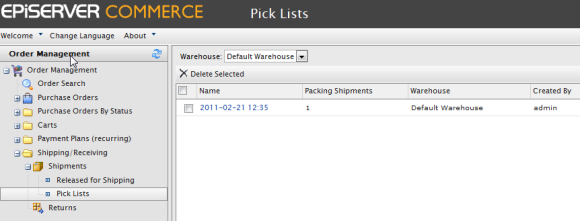
You can also sort existing pick lists by Name, Packing Shipments, Warehouse, and Created By.
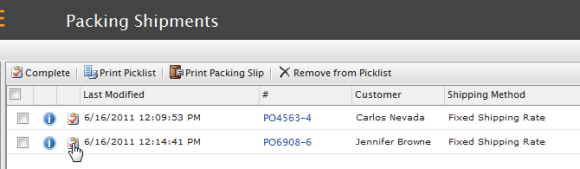
- Click on an existing pick list. The Packing Shipments window appears. You can choose to print a and/or a . Checkmark one or more purchase orders. Click on Print Picklist to generated a printable and exportable (Excel or PDF) pick list.
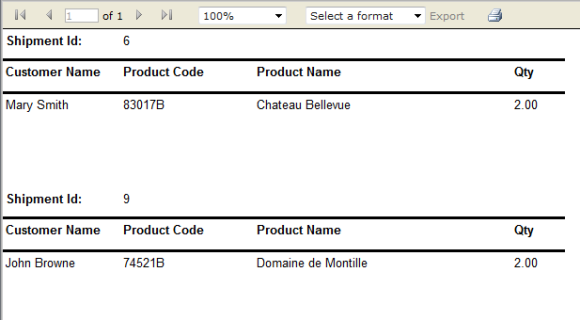
To generate a packing slip, checkmark one or more purchase orders to include in the packing slip and then click on Print Packing Slip.
Finalizing a Package for Shipment
There are two ways to complete a shipment.
Method 1
- Select the box next to the shipment and then click Complete:
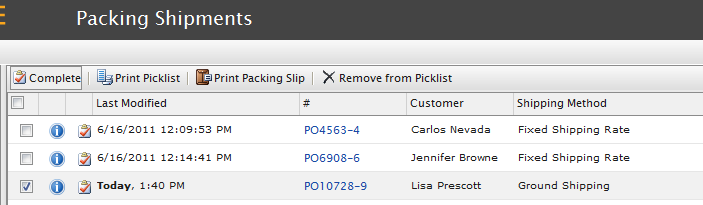
- The Complete shipment pop-up appears. The default shipment number is based on the number after the number. For example, in the screenshot above, the PO number for the selected order is "PO10728-9". The last number after the dash is the number you want to enter into the text field, in this case it is "9".
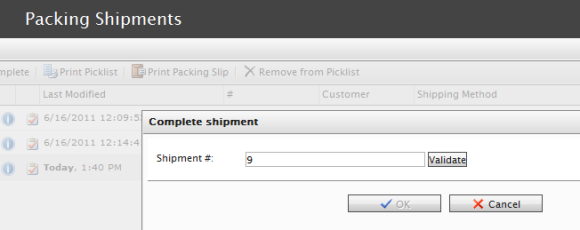
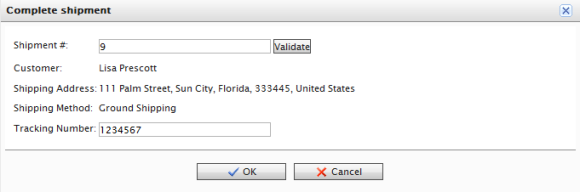
- Click Validate. Once validated, you will see the customer name, shipping address, , and a field to enter in the provided by the shipping provider. Enter in a tracking number and click OK. The shipment is sent out and completed. The purchase order will change to "Completed."
Currently, the Complete shipment pop-up is rendered over the purchase order number. So to reference the shipment number without closing the pop-up, you can move and drag the pop-up so you can see the PO number by hovering your mouse cursor over the Complete shipment title bar.
Method 2
- To complete a shipment, click on the complete shipment icon highlighted in the screenshot below:
- The Complete shipment pop-up appears. The shipment # is already validated with the last number of the PO number.
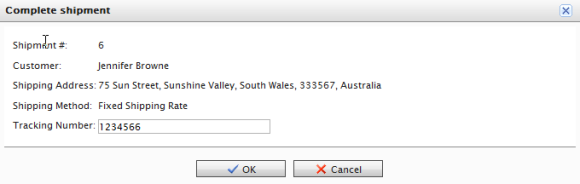
- Enter a tracking number provided by the shipping provider and then click OK to complete the shipment and complete the order.
Version: EPiServer Commerce 1 R2 SP2| Last updated: 2012-09-20 | Copyright © EPiServer AB | Send feedback to us