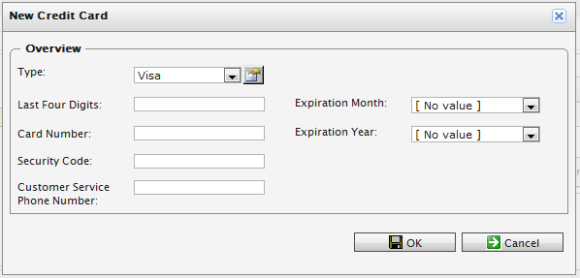
Every field is associated with a Form, and each Business Object is associated with one or more types of forms. The common types of forms found in Commerce Manager are the Edit Forms, Short Info Forms, and View Forms. For example, the New Credit Card form looks like this:
By editing the form, you can change the layout, add new fields and sections, and more.
To edit an existing form, click on a Business Object and click on the Forms tab to see the list of associated forms.
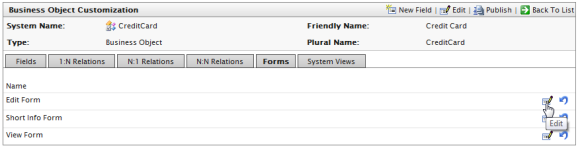
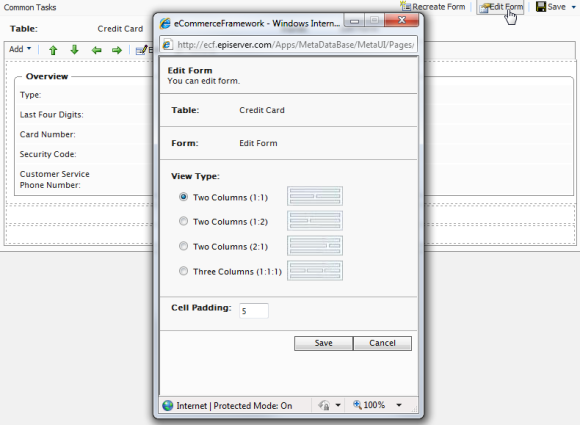
Click on the Edit icon next to the form you want to make changes to. The form customization window pops up.
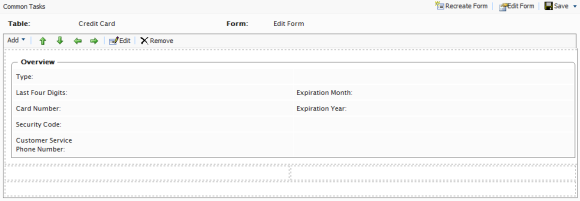
There are various functions available to edit and customize a form.
You can change the layout and the fields that appear on the form.
This example uses a Two Column (1:1) layout.
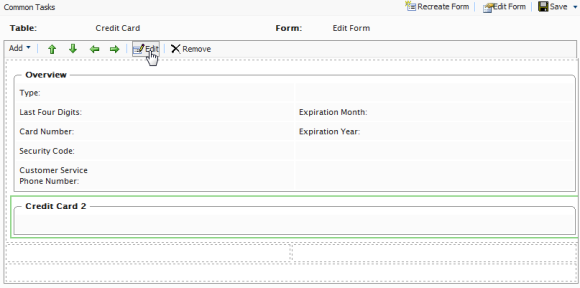
Once your layout is set, you can add additional sections and/or additional fields.
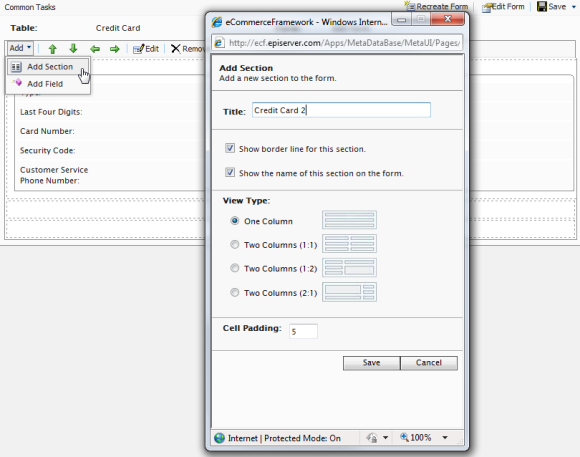
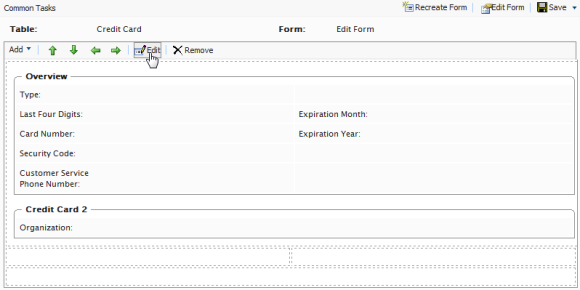
You can edit a section by clicking on a section and click on Edit.
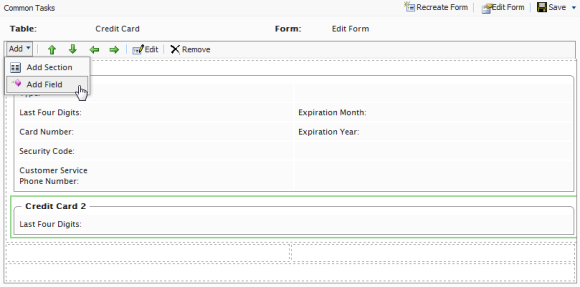
Within each section are fields. You can add new fields to a specific section by highlighting the section and then by clicking Add --> Edit.
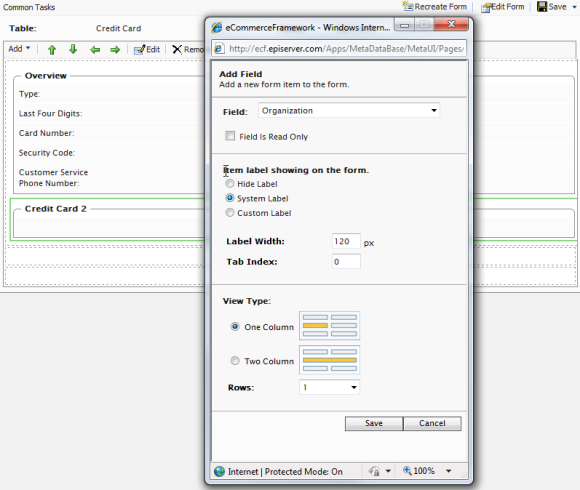
Select an existing associated field in the dropdown menu.
a. Checkmark the "Field is Read Only" box if you want the field to be unavailable for edit. When you see the rendered form, the field will be grayed out.
To edit a field, click and highlight the field and click on Edit to change your previous settings.
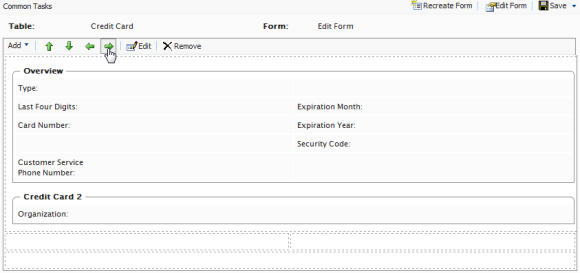
You can re-arrange fields on a form but using the arrow controls on menu bar. Highlight the field and then click on the directional arrow you want the field to move to.

In this example, the "Security Code" field is moved to the right where the "Customer Service Phone Number" field is placed by clicking on the right directional arrow. Fields are moved from cell to cell within a section.
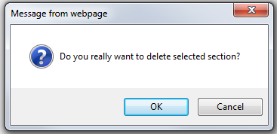
To delete a section or field, highlight either one and click on Remove. A popup will appear. Click OK to confirm deletion. Otherwise, click Cancel.

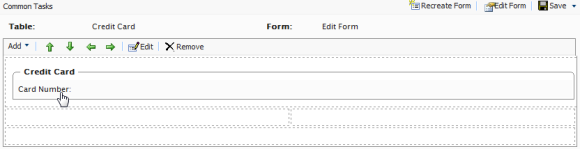
Recreating a form allows a user to create a form from scratch with a single field rather than customize a form with all fields already in place. Click on Recreate Form on the upper right corner of the window.
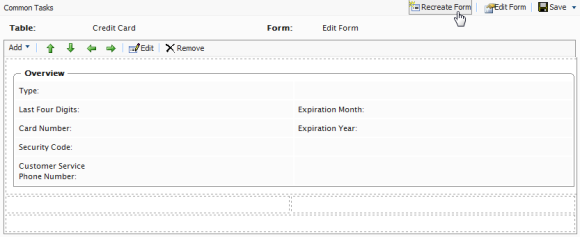
A popup will appear. Click on OK to recreate the form. Otherwise, click Cancel. Once you confirm, the fields will clear from the form except for the required field.
Once you are done with your changes, click on Save on the upper right corner of the window. To save and close the window at the same time, click the down-arrow next on the Save button and on the dropdown click Save and close.
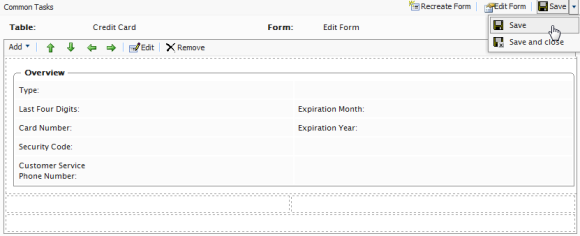
Once those changes are saved, the form you edited will render based on your configuration. For example, here is the customized Credit Card edit form an end user sees.

Version: EPiServer Commerce 1 R2 SP2| Last updated: 2012-09-20 | Copyright © EPiServer AB | Send feedback to us